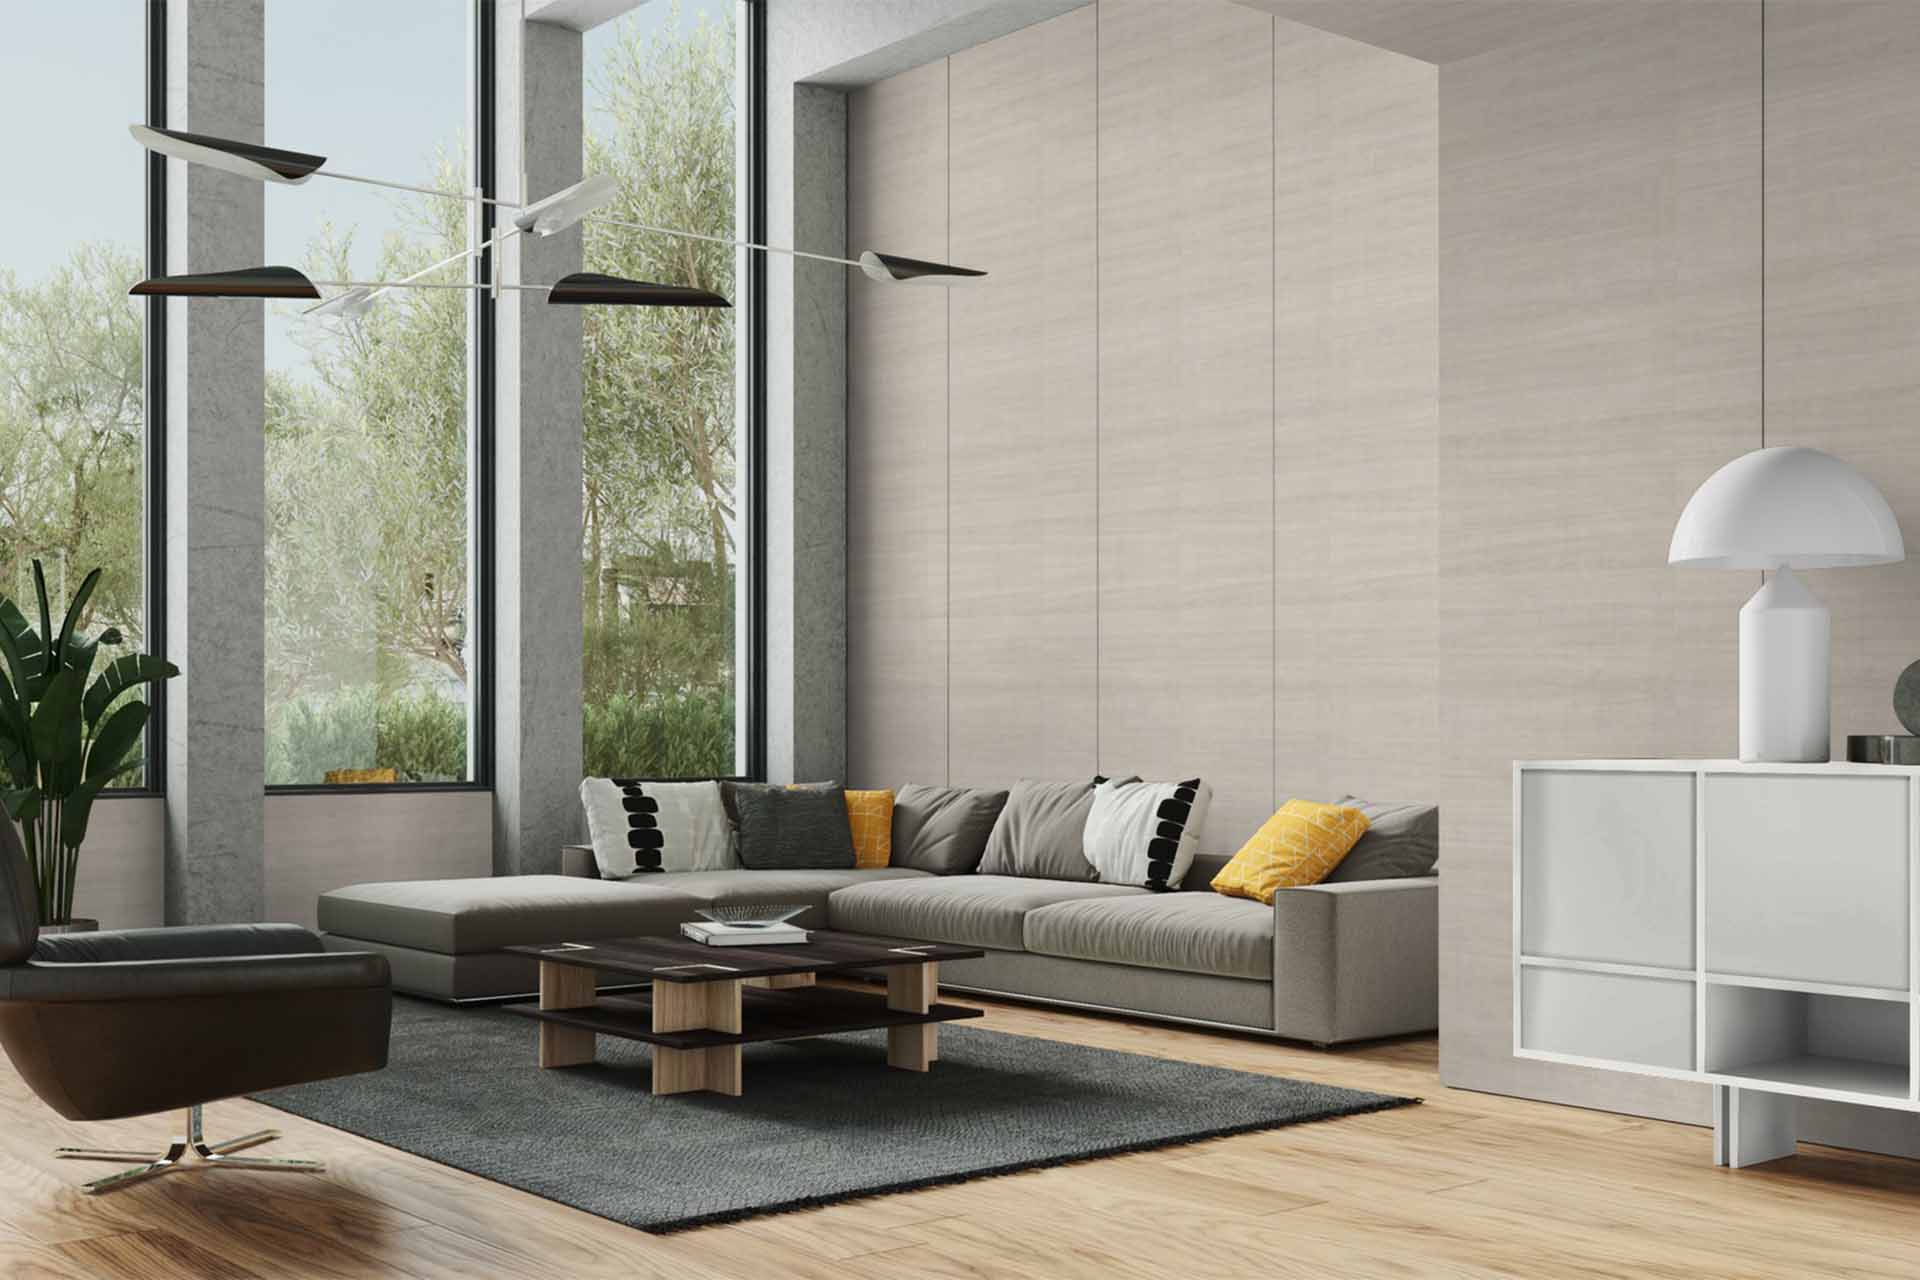
Wood panels have an inherent charm that makes them feel warm and comfortable, but having a house filled with old, damaged, or cheap veneer paneling can have the opposite effect. One of the easiest yet most effective upgrades can be painting your wooden walls. It’s a great way to brighten your dark, dated wood-paneled walls, and it’s incredibly cost-effective.
You can paint your wood panel walls regardless of the panel type. Both solid wood panels and veneer panels are easy to paint over, making this the easiest and cheapest way to upgrade your wall panels and give your home a complete makeover.
How To Paint Wood Panel Walls
Now that you have decided that you’ll paint over your wooden panel walls, you need proper tools and instructions to follow to make sure everything runs smoothly and you can end up with beautifully painted walls.
Painting your wall paneling is like painting any other wooden furniture, but it does require a little more attention.
Tools And Materials
To get the job properly done and without any unnecessary issues, you’ll need a short list of materials and tools:
Tools
- Paintbrush
- Caulking gun
- Rags
- Paint rollers
- Putty knives
Materials
- 220-grit sandpaper
- Caulk
- TSP or a TSP substitute
- Stain-blocking primer
- Wood filler
- Trim paint
- Wall paint
Clean up the Paneling and Molding
The first thing you need to do is clean the wood panels. Cleaning wood panels is easy—simply use a damp rug to remove all the dirt, dust, and cobwebs. If there’s grime build-up, use a solution of trisodium phosphate (TSP) or a TSP substitute, then use water to wipe it clean. You should never paint over a dirty surface, as it prevents the paint from properly adhering, and if you paint over dirt, the paint can end up looking clumpy or uneven.
Fill the Wood and Sand It Down
To ensure your finished product is smooth and clean, you need to fill any small cracks and holes in the wood, then sand it down once the filling is dry.
Next, to remove the sheen and create a surface that is just a little bit grittier so that the paint will adhere more readily, use 220-grit sandpaper. After sanding it down, use a damp towel to remove all the dust.
Apply Caulk Around the Trim
Another crucial step is using caulk between the paneling planks, around the doors and the windows, and around the trim. Don’t forget to use paintable caulk. Once you’re done, allow it to dry according to the manufacturer’s directions.
Use Primer on the Wood
The last step before painting is to apply a thin coat of primer, ensuring that all cracks and seams get coated. It’s best to use an oil-based primer, as it will help prevent wood stains and grease.
Paint Over the Paneling
After the primer dries, apply a thin coat of primer from the top and work your way to the bottom. Remove any excess paint accumulated in the grooves with a brush, and apply a second coat after allowing the first to dry.
Conclusion
Painting your wooden walls can be a great way to change the vibe of the interior of your home, and it’s often the most cost-effective way to do so. If you’re looking for other affordable paths to home improvement, be sure to check out our recent article on when it’s time to install an interior door.


