Removing floating cabinets is not as daunting as people make it out to be. In fact, it is a task that most DIY-ers can tackle on their own. Regardless of whether you are working with floating kitchen cabinets or floating bathroom cabinets, the removal process is the same.
At 27estore, we want to help you achieve the perfect renovation from start to finish. Whether you are unsure of how high a floating cabinet should be or trying to gauge if floating cabinets are practical, we have your back.
That’s why we put together this handy little how-to guide—so you can remove your floating cabinets with ease and as little stress as possible.
Steps for Removing Floating Cabinets
With the right tools and techniques, removing floating cabinets does not have to be as arduous as most people assume it is.
Prepare for Removal
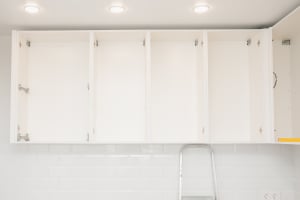
The first step in removing your floating cabinets is emptying out your cabinets. Because the cabinets are mounted on the wall from the inside, it will make the removal process much easier if they are empty.
In addition to emptying out the cabinets, be sure to prepare the space around you. Consider lining your floors with cloth or protection sheets to keep them free of any scuffs or debris they might encounter as you unmount the cabinets.
Remove any hardware holding the cabinets in place–these types of cabinets are often secured on a wall using screws and nails. If you intend to use the cabinets again or elsewhere in the home, be sure to store the hardware in a safe space.
The Actual Removal Process
Your safety is number one. Before we proceed with the following guidelines, we want to emphasize that if any of the steps below prove to be more difficult than expected, it may be wise to enlist the help of a professional.
Once the hardware is removed, it is time to remove the cabinets from the wall. We advise that you remove the cabinets in sections. If you are removing multiple cabinets, work your way through the removal from top to bottom.
As you remove the cabinets from the wall, be sure to support them with your hands to keep them from falling and causing any damage to your walls or floors. Lay them down on their side out of the way as you keep working.
If you notice that there is paint sealing the cabinet to the wall, we recommend using a utility knife to help cut through and loosen the seal before removing the cabinet from the wall.
After the Removal
Once the floating cabinets have been removed, take the time to inspect the wall for any damage. Minor holes can be patched. If you notice any major damage, be sure to enlist the help or advice of a professional. Do not continue with the renovation process if there is major damage–a sturdy wall is crucial. If there is no noticeable or extensive damage, it is now time to paint over the wall with a fresh coat of paint.
Removing floating cabinets requires some planning, preparation, and patience, but with the right tools and techniques, it is nothing you can’t tackle!


