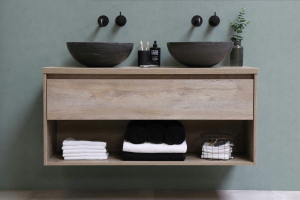
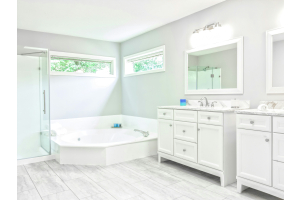
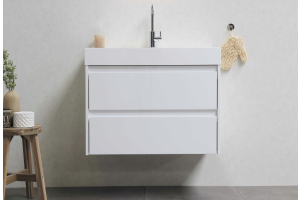
One of the greatest features of frameless cabinets is their standardization. Popularized as a method of mass-constructing standardized cabinetry as part of rebuilding Europe after World War II, frameless cabinets became the design of choice for many modern European homes.
In the great debate between face-frame cabinets versus frameless cabinets, the frameless option is preferred by a majority of Europeans while many Americans prefer face-framed cabinets. However, as urban American construction trends have gone in the direction of minimalist design, frameless cabinetry has been making serious inroads into the American market.
With the rise of DIY culture and the wide availability of tutorials both written and in the form of step-by-step YouTube videos, it’s no surprise that more people are choosing to install their own cabinetry.
Measure Twice, Cut Once
While this is often meant figuratively to urge you to be precise in your measurements, it should be taken literally when it comes to installing cabinetry. This is because cabinetry is almost always attached to walls and may also be placed into corners.
While the person who constructed your home probably made an honest effort to ensure all the walls and floors were completely level and at the correct angles, small mistakes are inevitable. Problematically, even the tiny mistake of a single degree being incorrect can be exaggerated into a difference of several inches when you use that angle as the basis for constructing a twelve-foot wall.
For this reason, it’s extremely important that you measure not only the space you’ll be installing your cabinetry in, but also ensure the angles are correct before you get started.
Fixing Others’ Mistakes Is Par for the Course
Fortunately, even if the walls or floor aren't as level as they should be, you can always make up the difference. Using small wooden shims as spacers to eliminate gaps and help keep your cabinets square and level with the walls and floor is the way to go.
When you begin to research how to hang frameless cabinets, you will find that often, a ceiling beam has warped and may not be completely level. Just as above, a small wooden shim placed between the cabinets and ceiling beams before attachment can make up the difference in height to give your cabinets that perfectly level look.
Once your shims are in place and you’ve checked your level at several different spots to ensure it's perfect, you can begin to research how to screw frameless cabinets together.
Covering Your Minor Adjustments to Look Great
You don’t have to worry about your shims being visible for all to see. Covering up these minor adjustments is a snap with some carefully placed filler wood to cover any gaps between walls and floors where you placed your shims.
This helps your cabinetry look like it is directly attached to the wall on all sides, when in reality, it’s simply screwed to the studs in key areas at the back and sides. No one will notice, as almost all frameless cabinetry requires filler around the edges and near walls to ensure the doors and drawers have room to open.

